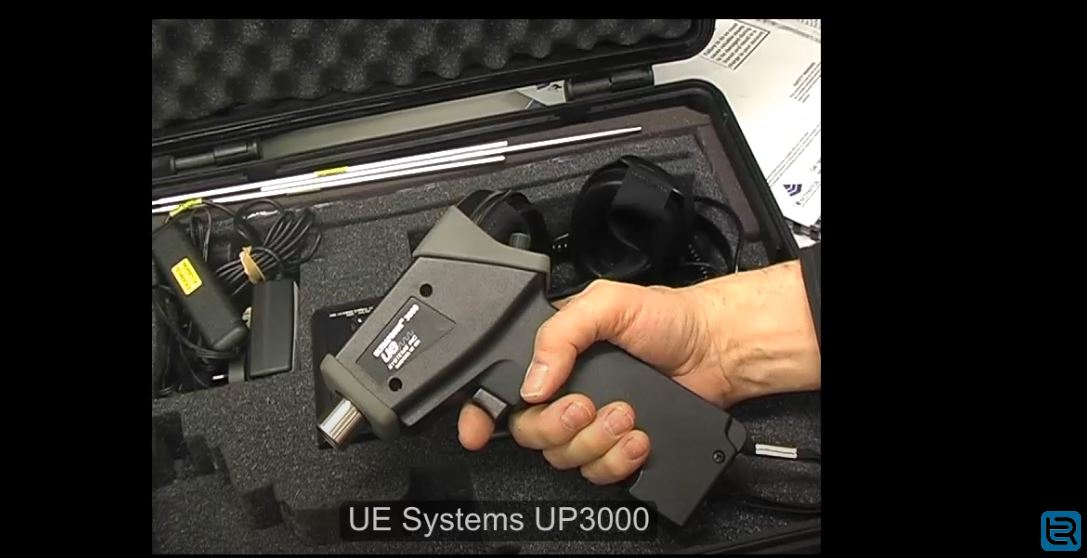
In the realm of instrument calibration, understanding the concept of UUT (Unit Under Test) is essential, as it refers to the specific device being evaluated for accuracy and performance against established reference standards.
What is UUT?
UUT (Unit Under Test): This refers to the specific device, equipment, or instrument that is being evaluated or calibrated. The objective of calibration is to verify the UUT's performance and accuracy against a known reference standard.
UUT Correction
The UUT correction figure in a calibration certificate is the difference between the value displayed by the instrument during calibration and the certified value of the standard. It is a measure of the error in the instrument, and it is used to correct the measurements made by the instrument.
The UUT correction figure is calculated by subtracting the certified value of the standard from the value displayed by the instrument. For example, if the certified value of the standard is 100.0 mm and the instrument displays a value of 99.9 mm, the UUT correction figure would be -0.1 mm. This means that the instrument is consistently reading 0.1 mm low.
The UUT correction figure is an important part of a calibration certificate because it allows users of the calibrated instrument to correct the measurements made by the instrument. This ensures that the measurements are accurate and reliable.
Here is an example of how the UUT correction figure might be reported on a calibration certificate:
- - UUT Correction Figure: -0.1 mm
This means that the instrument is consistently reading 0.1 mm low. The user of the instrument would need to add 0.1 mm to all measurements made by the instrument in order to obtain an accurate reading.
Measurement Uncertainty
The measurement uncertainty in a calibration certificate is a measure of the degree to which the true value of a measurement is unknown. It is expressed as a range of values, within which the true value is believed to lie, with a certain level of confidence.
For example, if the measurement uncertainty for a length measurement is reported as ± 0.1 mm, this means that there is a 95% confidence that the true value of the length lies between 0.1 mm below and 0.1 mm above the measured value. Another way of putting it is we are confident that 95 times out of 100 the true value lies between 0.1 mm below and 0.1 mm above the measured value.
The measurement uncertainty is an important part of a calibration certificate because it allows users of the calibrated instrument to understand the degree of uncertainty associated with the measurements. This information can be used to make informed decisions about the accuracy of the measurements and to identify areas where improvements can be made to the measurement process.
Here is an example of how the measurement uncertainty might be reported on a calibration certificate:
- - Measured Value: 100.0 mm
- - Measurement Uncertainty: ± 0.1 mm @ 95% confidence
This means that there is a 95% confidence that the true value of the length lies between 99.9 mm and 100.1 mm.
The measurement uncertainty is always expressed at the 95% confidence level. It is important to note that the measurement uncertainty is not a guarantee that the true value of the measurement always lies within the specified range. However, it does provide a measure of the degree of uncertainty associated with the measurement and can be used to make informed decisions about the accuracy of the results.
Contact TechRentals today to learn more about our calibration services.


